 from the Production menu. or Click Add
from the Work Order List.
from the Production menu. or Click Add
from the Work Order List.Like all other transaction work order can be 1) created in All Orders and imported to AOM 2)or create new in the AOM
To import from All Orders refer to Checkout
To start a new Work Order, choose New Work Order icon from the Production menu. or Click Add
from the Work Order List.
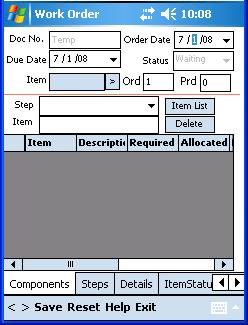
At the top of the screen, you must first select the Item to be produced. Item can be added by pressing > button in the Item text box and selecting from the list opened ( please see Lists). Now enter how much of the Item was ordered. You can enter both the order date and the date the order is due. You can alter these dates using the drop-down calendar control.
From the Step combo box select a step. Allocate the components by typing the Item name or scanning the bar code or press Item List button and select from the list. (please see Adding Items to a transaction ). When all the components are allocated for all the steps, the Status will changed to Ready.
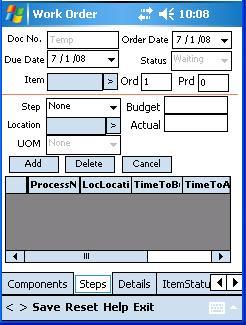
You can add additional steps through the Steps tab. To add, select a step from Step combo box, select a location by pressing '>' button, enter a Budget value and press Add button.
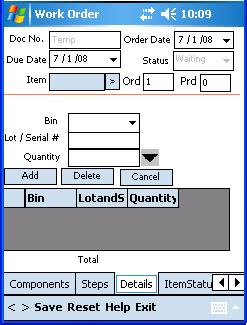
Detail tab shows the Bin allocation of the produced item. You can edit Bin and quantity by double clicking on the line.
ItemStatus will show the current status of the item including location, bin, serial numbers and available quantity.
Through the Other tab you can enter any memo.
Finally when you CheckIn next time, this work order will be updated in All Orders if it is imported or added to All Orders with a new Document number if created in AOM.